
Are you ready to transform your nails into miniature canvases of self-expression? The world of nail art has exploded in popularity, with more women than ever embracing their creativity through stunning gel polish designs. Whether you're a beginner looking to try something new or wanting to elevate your existing skills, this guide will help you navigate the colorful universe of gel polish nail art.
The Rise of DIY Nail Art
The nail industry has undergone a remarkable transformation in recent years. What was once exclusively the domain of professional nail salons has now become accessible to everyone with the right tools and techniques. This democratization of nail art has been largely driven by the development of user-friendly gel polish systems that deliver salon-quality results at home.
Gel polish has revolutionized nail art by providing incredible durability alongside vivid color payoff. Unlike traditional nail polishes that chip easily, gel formulations cure under LED or UV light to create a hard, glossy finish that can last for weeks. This longevity makes gel polish the perfect medium for creating intricate designs that you can enjoy for an extended period.
The satisfaction of creating your own nail art cannot be overstated. There's something deeply rewarding about glancing down at your hands throughout the day and seeing a design that you crafted yourself. It's not just about beauty, it's about creative expression and the joy of mastering a new skill.
Essential Tools for the Aspiring Nail Artist
Before diving into creating elaborate designs, you'll need to assemble your nail art toolkit. Having the right supplies makes all the difference between frustration and fabulous results.
The Foundation: Quality Gel Polishes
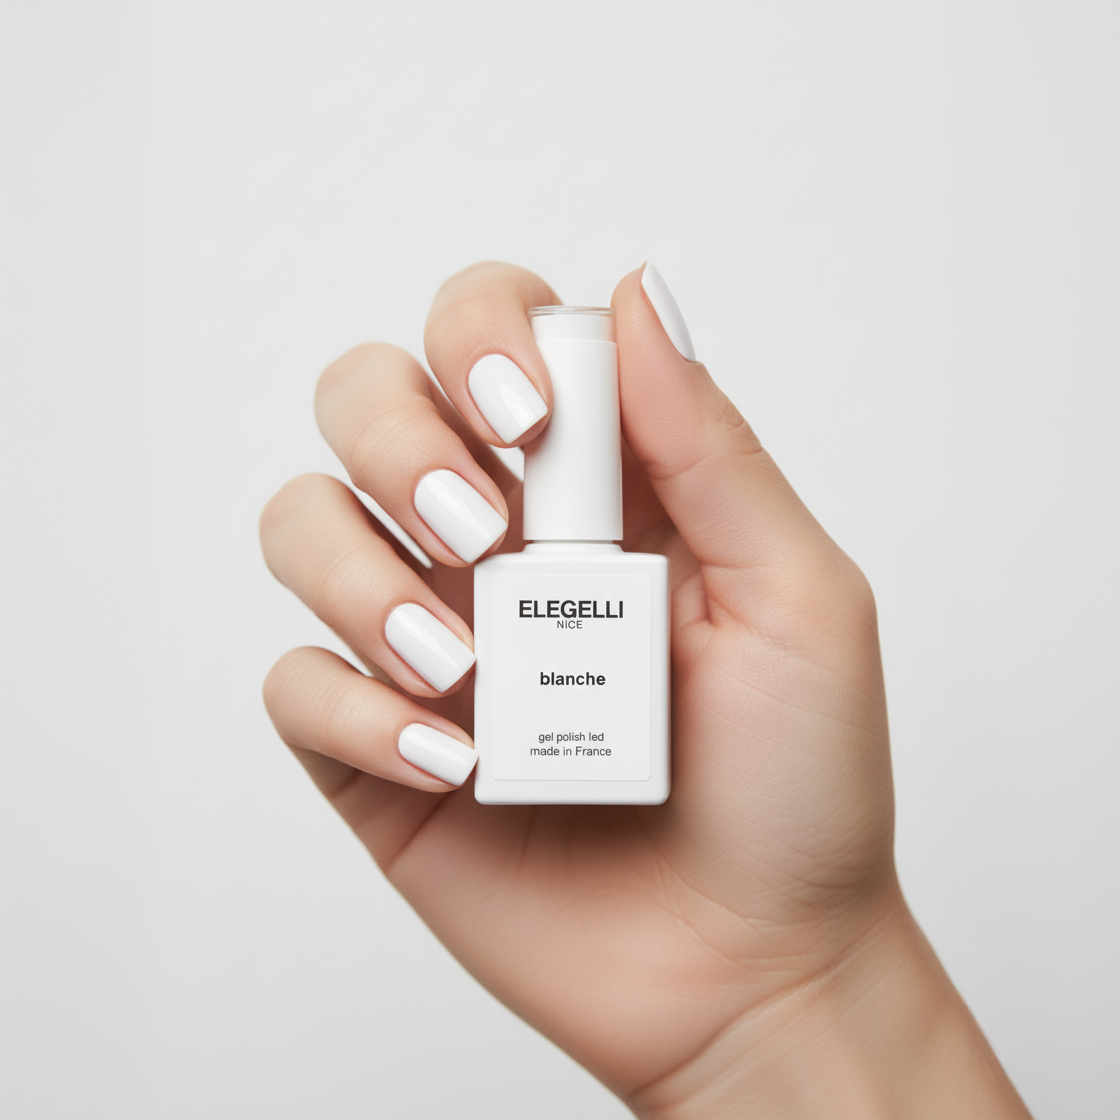
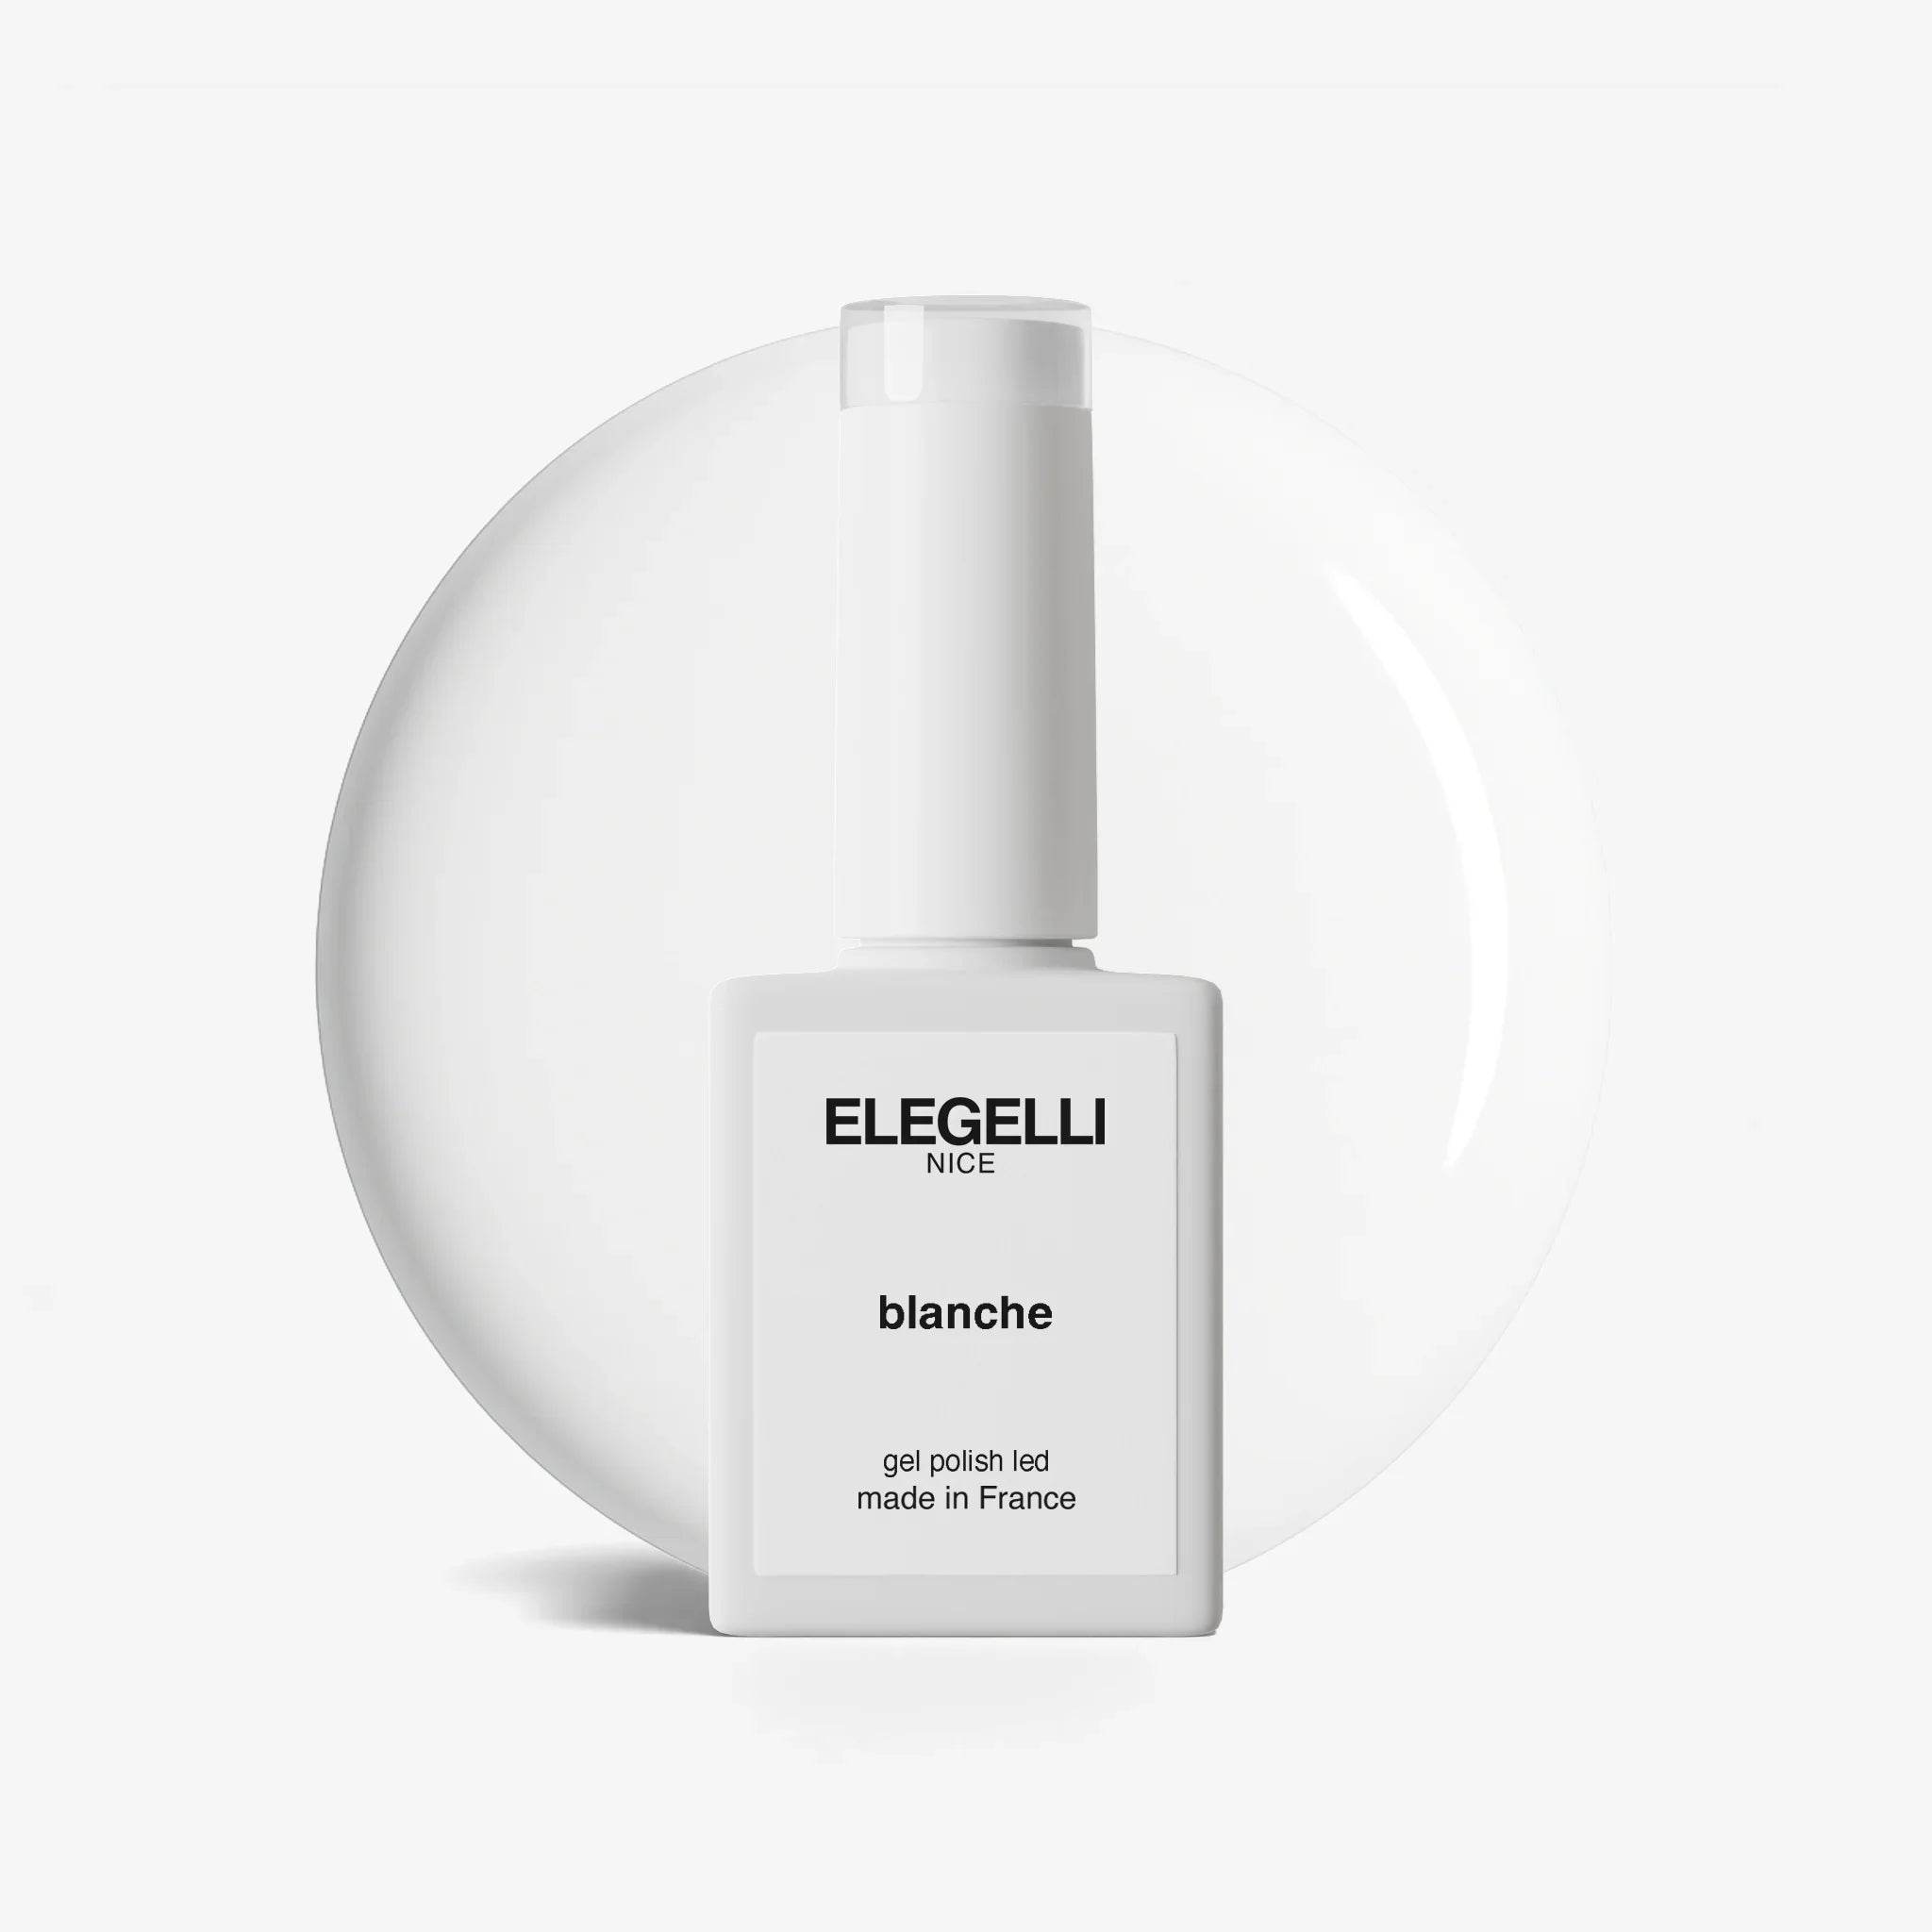
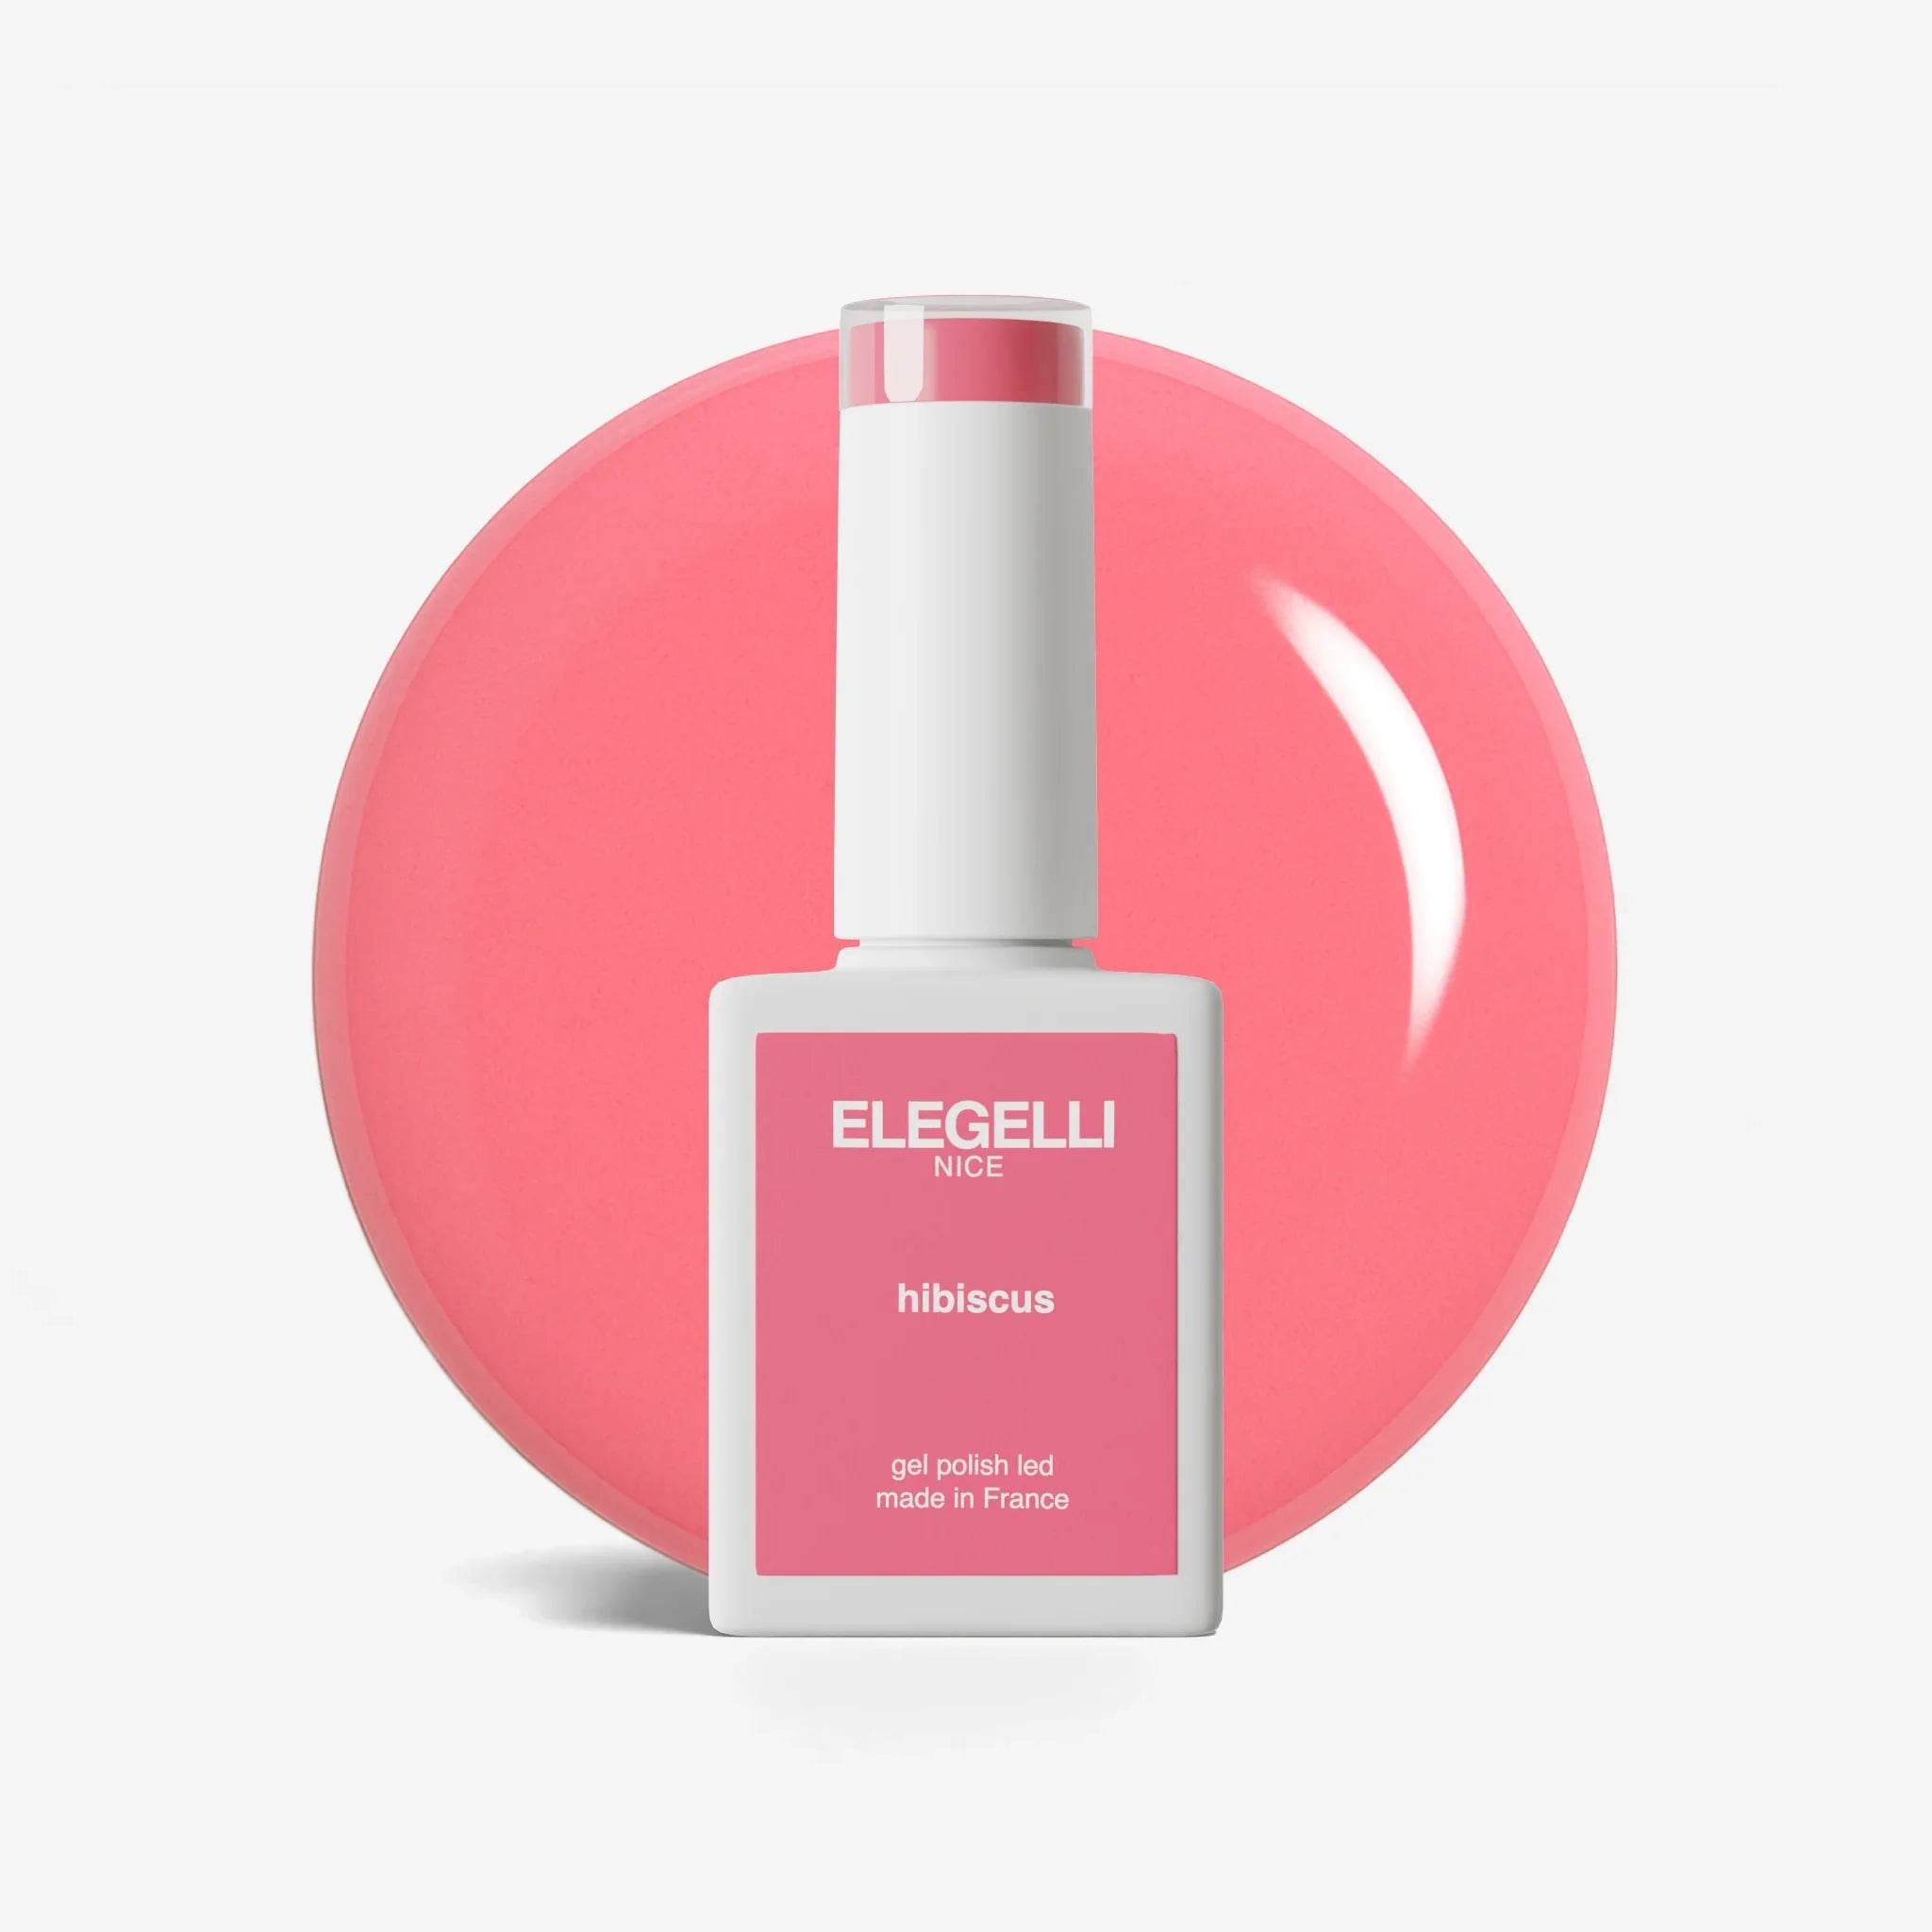
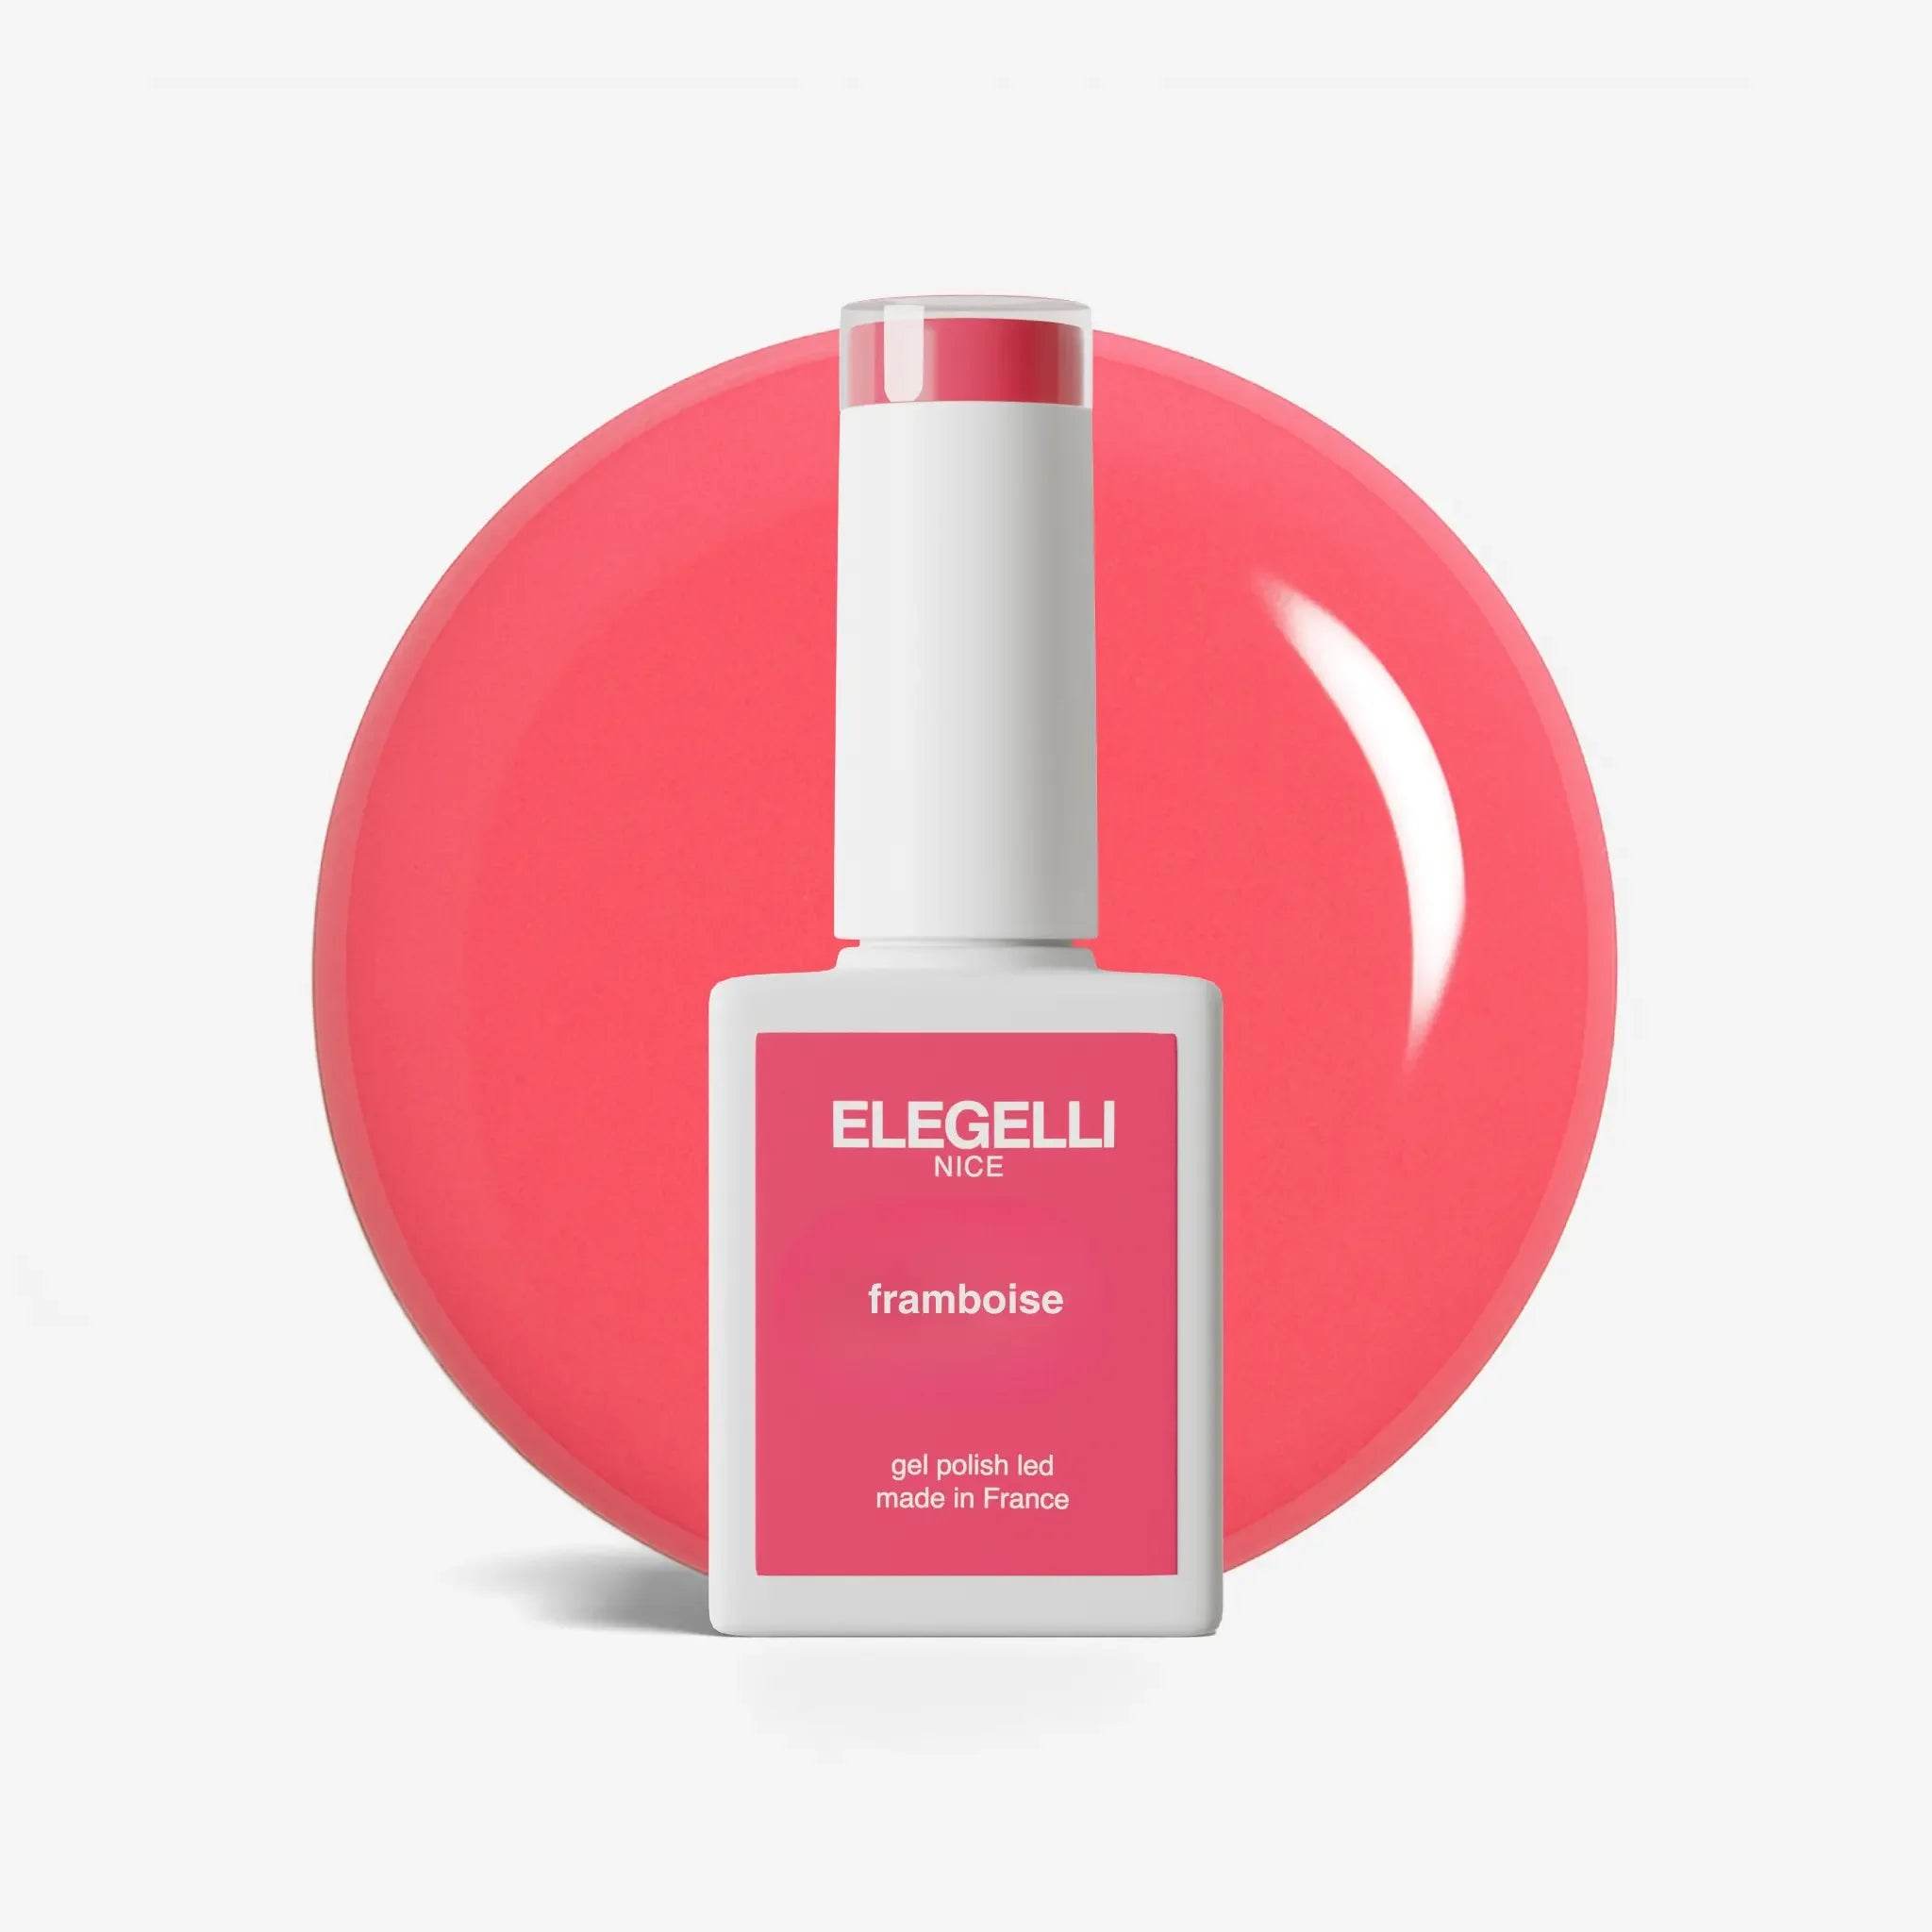
At the heart of any nail art kit is a collection of high-quality gel polishes. Elegelli's Classic Collection offers a stunning array of vibrant, highly-pigmented colors that provide excellent coverage with just two thin coats. When selecting polishes, start with versatile shades that can work for multiple designs—think primary colors, neutrals, black, and white.
Essential Equipment
Beyond polishes, you'll need:
- A reliable LED or UV lamp for curing
- Base and top coats specifically formulated for gel polish
- Fine detail brushes for intricate designs
- Dotting tools in various sizes
- Nail art sponges for gradient effects
- Striping tape for clean lines
- Nail cleanser and remover
- Cuticle oil for finishing touches
Investing in good quality tools will significantly improve your results. While it might be tempting to purchase the cheapest options, remember that precision tools make detailed work much easier.
Preparing Your Canvas: Nail Prep Essentials
Just as a painter prepares their canvas, proper nail preparation is crucial for long-lasting nail art.
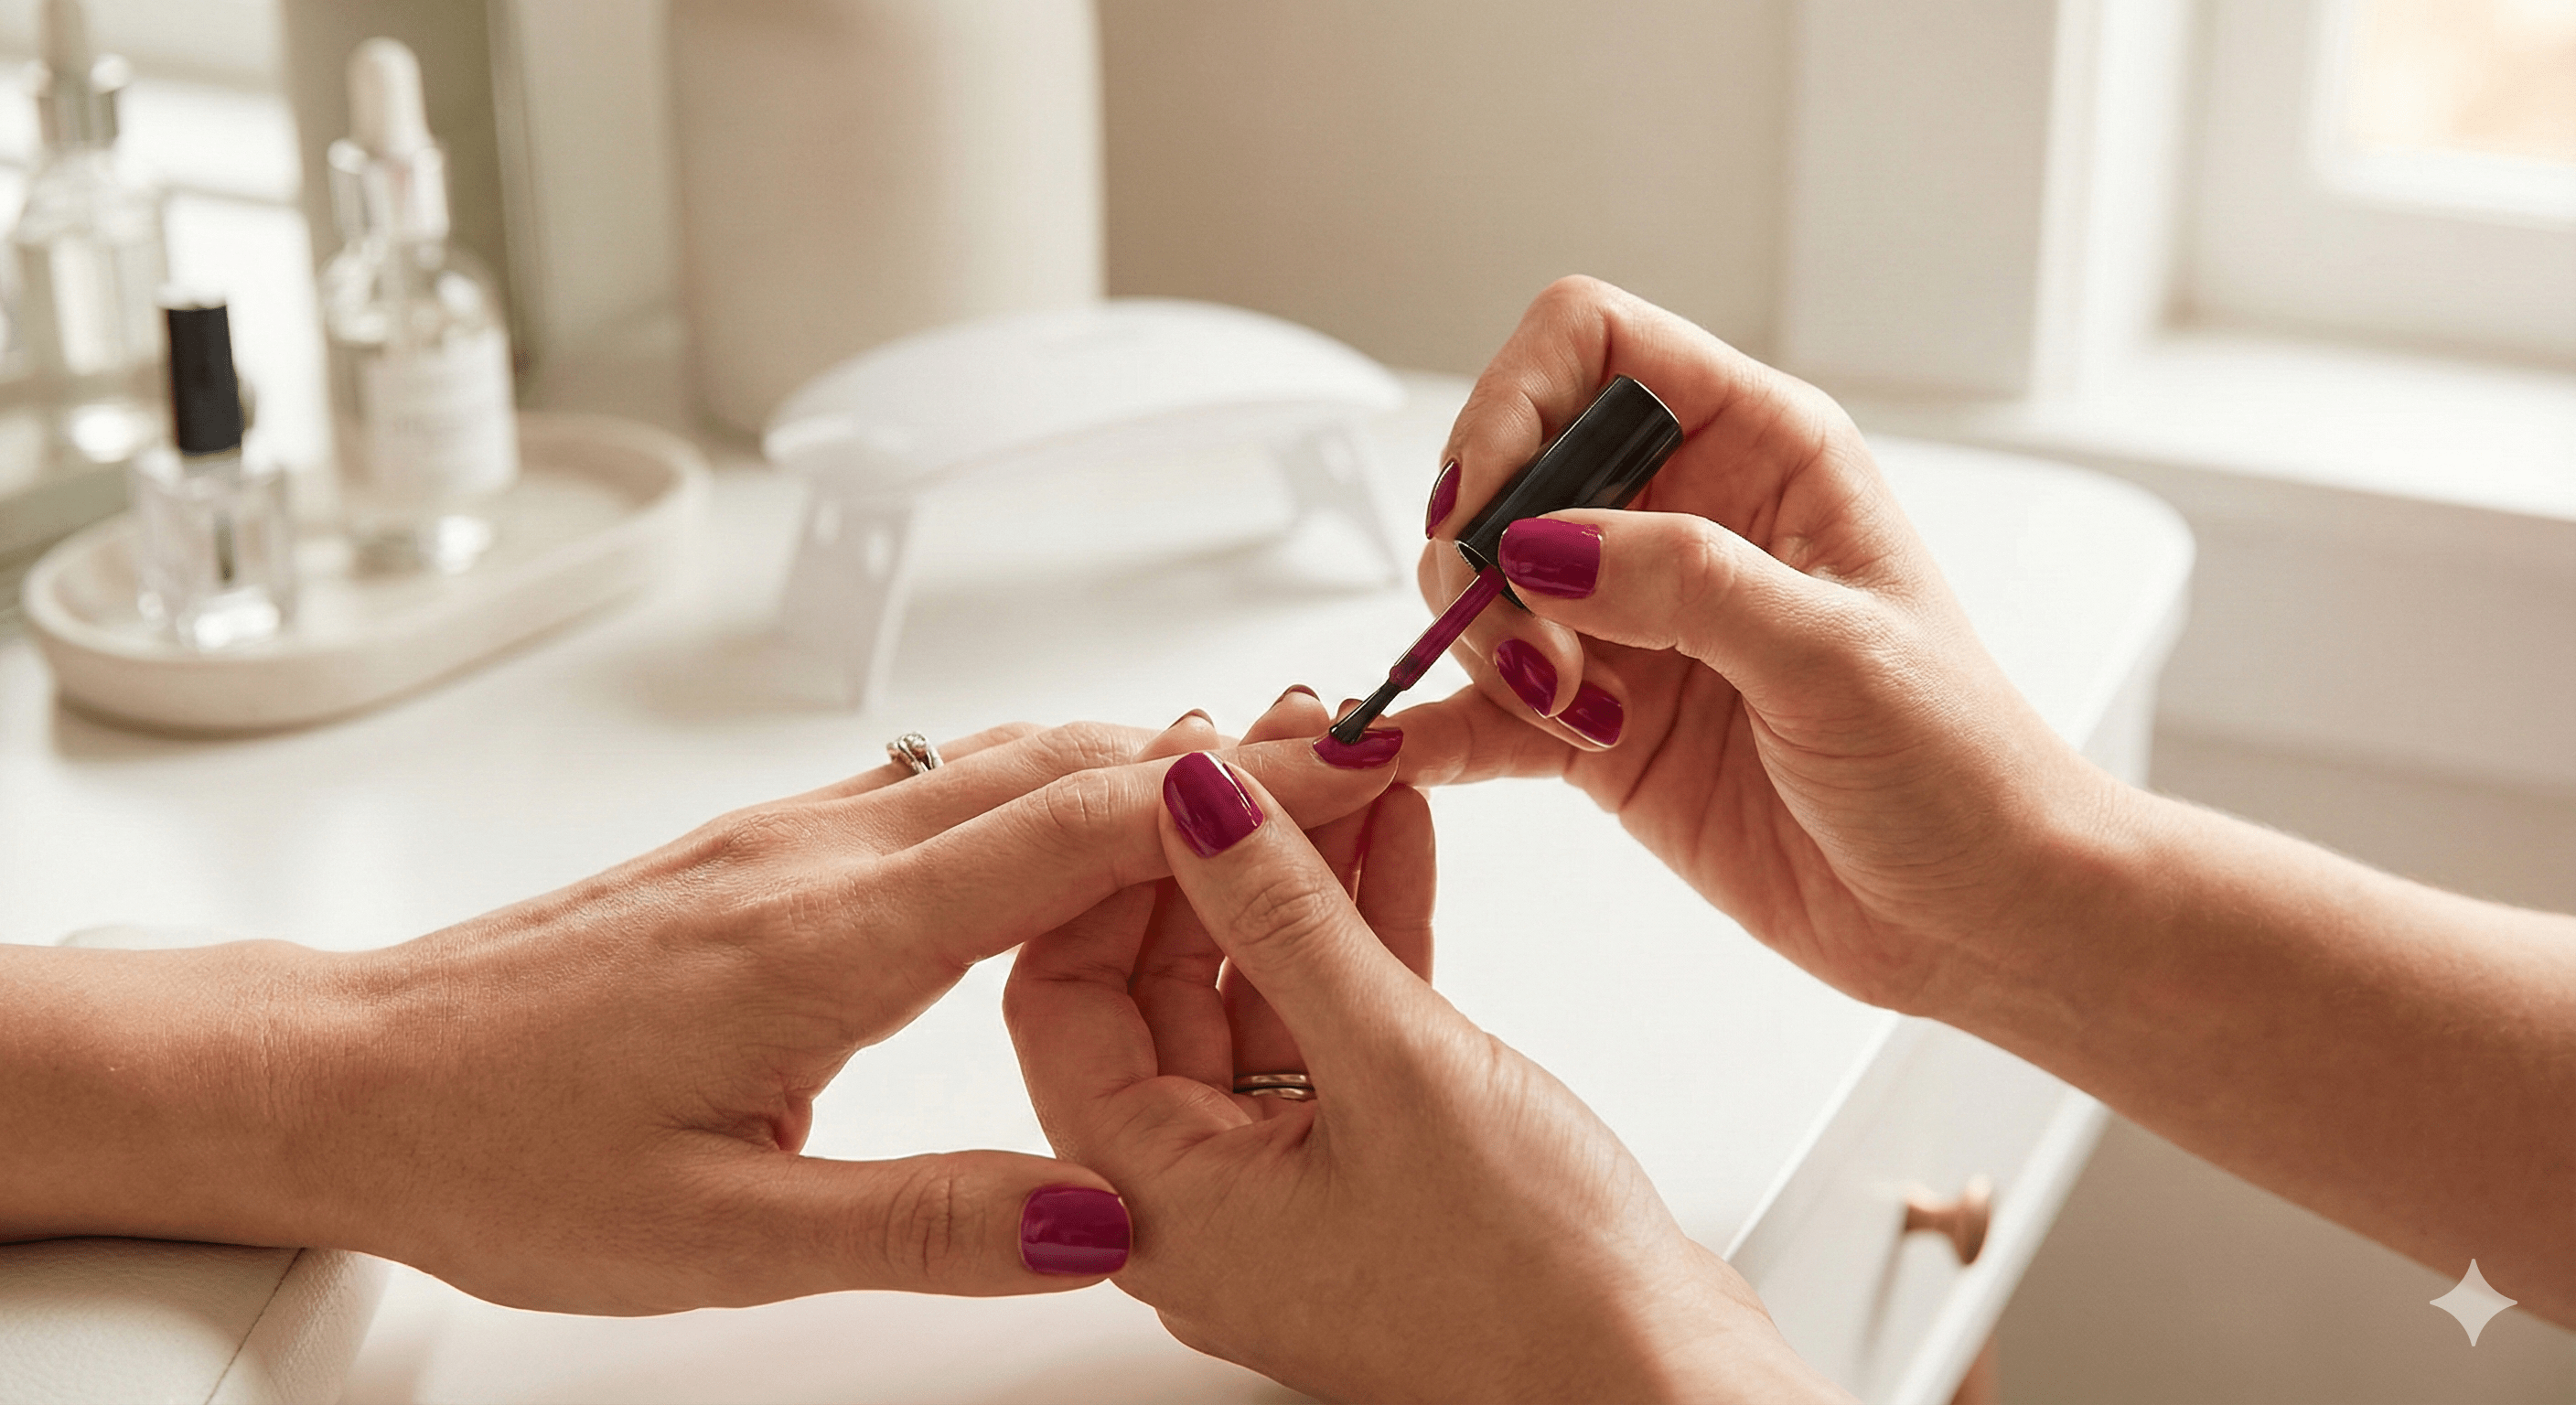
Start by gently pushing back your cuticles after soaking them in warm water. Next, lightly buff the surface of your nails to remove any shine, which helps the gel polish adhere better. Clean your nails thoroughly with alcohol or a nail dehydrator to remove oils and residue.
A common mistake is skipping primer or base coat. The Elegelli Bases creates the perfect foundation for your nail art while protecting your natural nails from staining. Apply a thin layer of base coat and cure according to the manufacturer's instructions before moving on to your design.
Remember: nail prep might seem tedious, but it's the difference between art that lasts for weeks and designs that peel or chip within days.
Beginner-Friendly Nail Art Techniques
If you're new to nail art, start with these accessible techniques that deliver impressive results without requiring advanced skills.
Gradient Effects
Gradients (also called ombré nails) create a beautiful transition between colors. To create this effect:
- Apply a white gel polish base and cure it
- Place drops of your chosen colors side by side on a silicone mat
- Use a small makeup sponge to gently dab the colors together, creating a blended edge
- Dab the sponge onto your nail, moving slightly up and down to blend
- Cure and apply a second layer if needed
- Finish with top coat
Dot Designs
Dotting tools make creating perfectly round dots easy for beginners:
- Apply and cure your base color
- Dip your dotting tool into a contrasting gel polish
- Gently press the tool onto your nail to create dots
- Vary the size of dots by using different dotting tools
- Create patterns like flowers, polka dots, or abstract designs
- Cure and seal with top coat
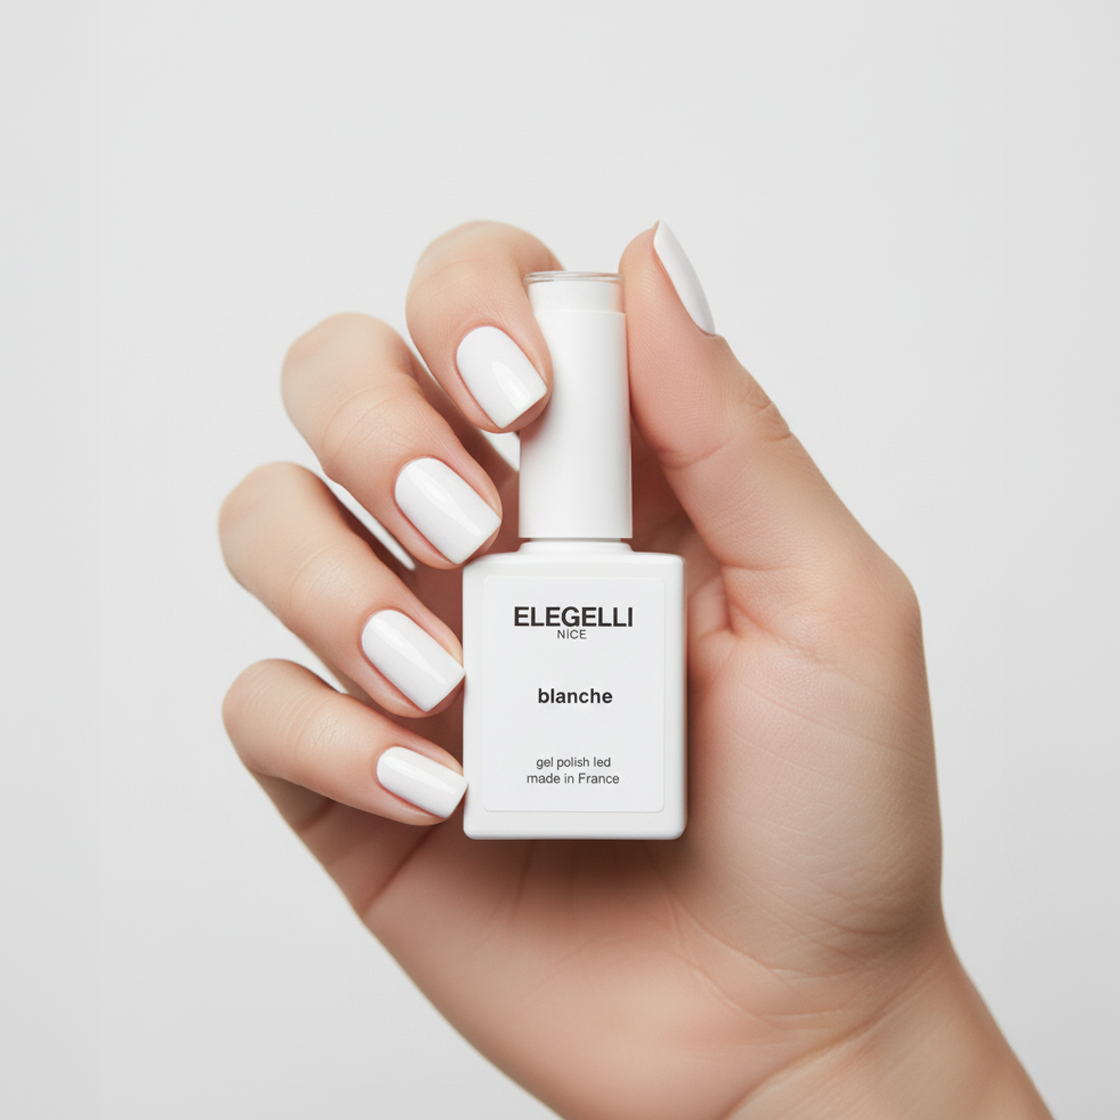
Try using Elegelli's Blanche for dots on darker backgrounds for maximum impact.
Striping Tape Geometrics
Geometric designs look complex but are surprisingly easy with striping tape:
- Apply and cure your base color
- Place thin strips of striping tape on your nails in your desired pattern
- Apply a different color over the top, being careful not to flood the tape
- Carefully remove the tape before curing
- Cure your design and finish with top coat
This technique creates crisp, clean lines that look professionally done.
Intermediate Nail Art Challenges
Ready to level up your nail art game? These techniques require a bit more practice but deliver stunning results.
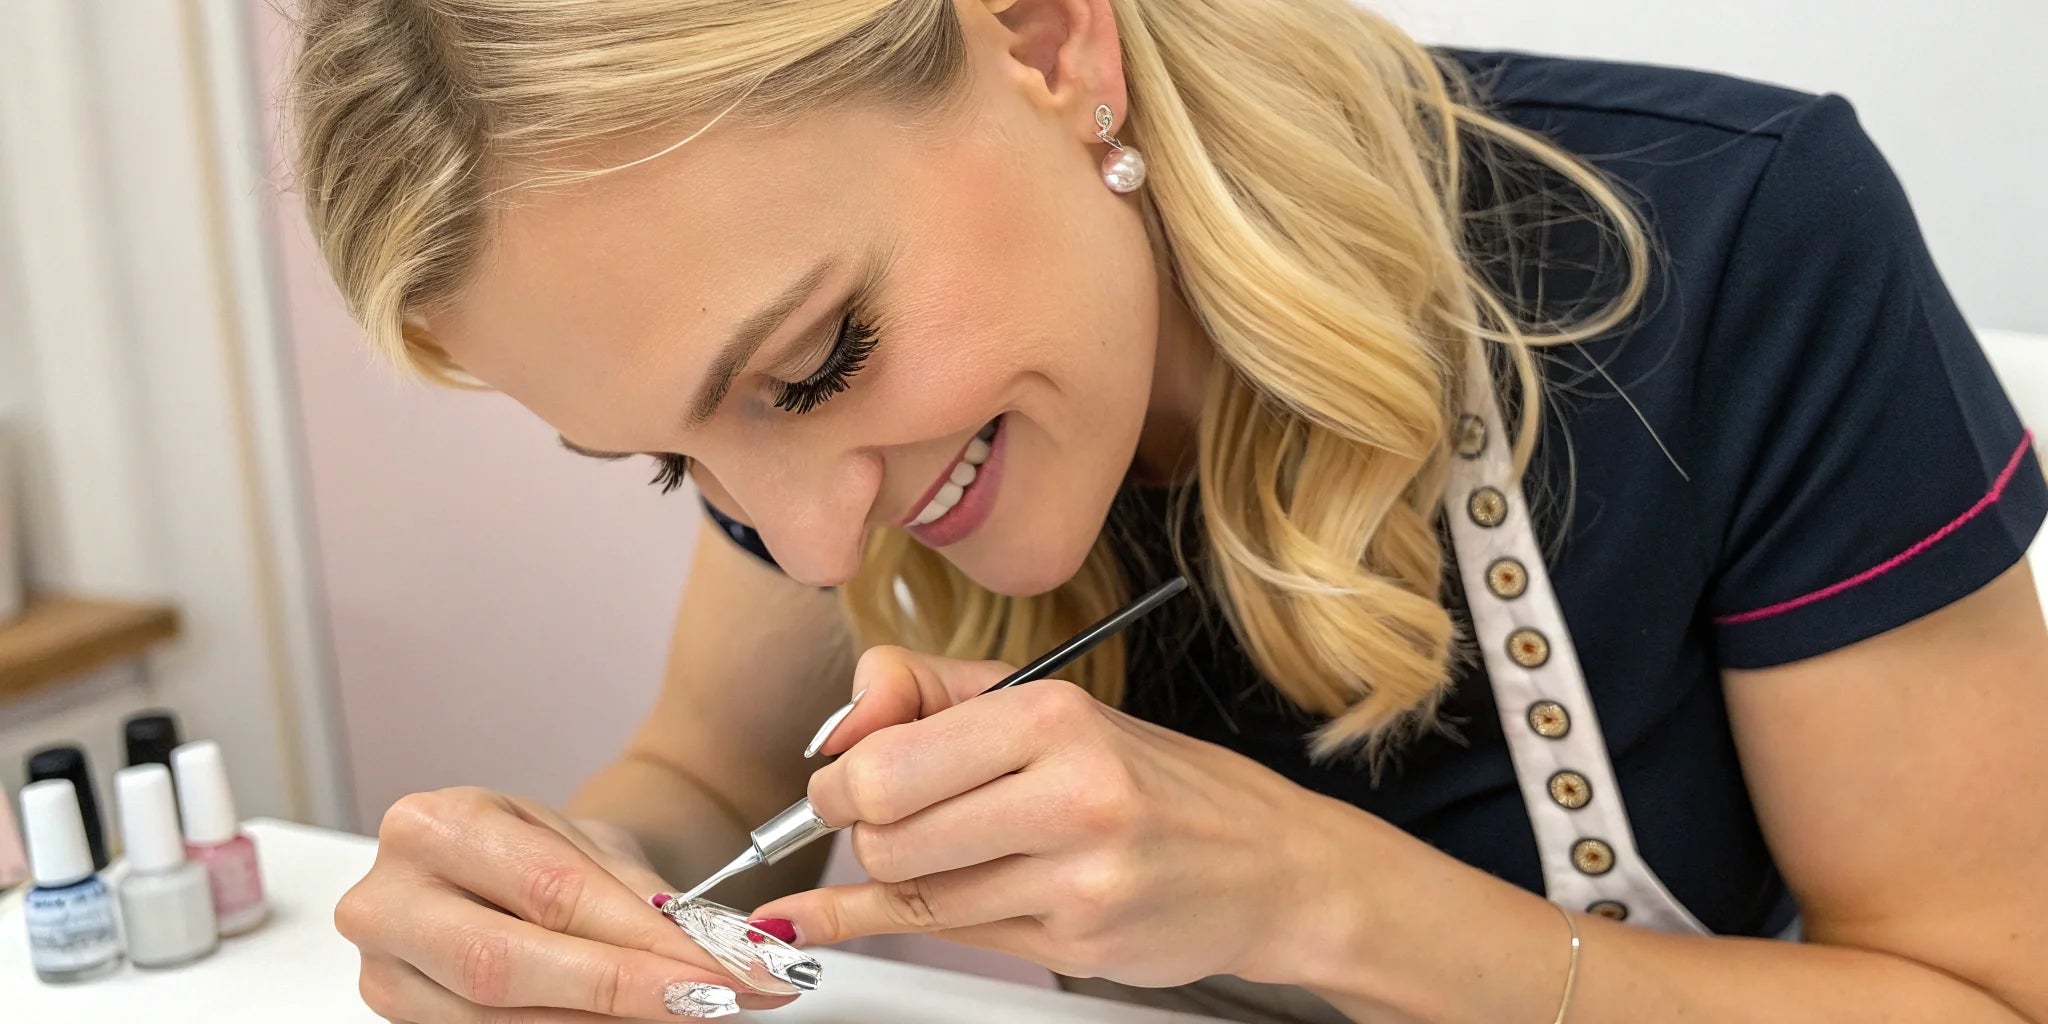
Hand-Painted Floral Designs
Floral designs are perennially popular in nail art. Using Elegelli's fine detail brushes:
- Create the center of the flower with a dotting tool
- Use your detail brush to paint petals around the center
- Add leaves and stems with a thin striper brush
- Build dimension by adding highlight dots with a lighter shade
- Cure between color changes to prevent smudging
Remember that practice makes perfect with hand-painted designs. Start simple with basic five-petal flowers before attempting more complex blooms.
Marble Effects
Marble nail art creates a luxurious, organic look that's surprisingly achievable:
- Apply a white or light-colored base and cure
- Drop small amounts of various colors close together on your nail
- Use a fine detail brush or toothpick to gently swirl the colors together
- Don't over-mix—the beauty is in the distinct color movements
- Cure and seal with top coat
Advanced Techniques for the Dedicated Nail Artist
These techniques require patience and practice but yield professional-level results.
3D Gel Art
3D elements add texture and dimension to your nail art:
- Create your base design and cure
- Use a thicker builder gel to create raised elements
- Cure between layers to build height
- Shape and refine with detail brushes
- Add color with gel polish or colored builder gel
- Seal with a generous layer of top coat
This technique works particularly well for flowers, bows, and abstract textures.
Encapsulated Designs
Encapsulation involves sealing elements between layers of clear gel:
- Apply and cure your base color
- Place thin elements like dried flowers, foil, or glitter on the tacky layer
- Carefully apply a thick layer of clear builder gel
- Cure thoroughly
- Shape and buff if necessary
- Finish with top coat for maximum shine
Seasonal Nail Art Inspiration
Your nail art can reflect the changing seasons, holidays, or your personal style evolution throughout the year.
Spring calls for pastels and floral designs that celebrate renewal. Try combining Elegelli's Pastel Collection with delicate cherry blossom designs or abstract representations of new growth.
Summer invites bold brights, tropical motifs, and beach-inspired designs. The vibrant shades in Elegelli's Neon Collection capture the energy of summer perfectly.
Fall brings rich, warm tones and nature-inspired elements like leaves and geometric patterns in amber, burgundy, and forest green. Elegelli's Earth Tones Collection provides the perfect autumnal palette.
Winter designs often feature cool tones, metallics, and festive motifs. Create stunning snowflakes, abstract winter landscapes, or holiday-themed art with Elegelli's Shimmer Collection.
Caring for Your Gel Polish Nail Art
The key to extending the life of your nail art is proper maintenance. Apply cuticle oil daily to nourish the area around your nails and prevent lifting. Wear gloves when doing household chores that involve water or chemicals, as these can compromise even the most durable gel polish.
When it's time to remove your gel polish, resist the urge to peel or pick, which damages your natural nails. Instead, gently file the top layer to break the seal, then soak cotton pads in acetone, place them on your nails, and wrap each fingertip in foil. After 15 minutes, the gel should slide off easily with a wooden cuticle stick.
Conclusion
Embracing gel polish nail art opens a world of creative possibilities that express your unique style while delivering long-lasting beauty. With quality products like Elegelli's gel polish collections and a bit of practice, you can transform your nails into miniature masterpieces that brighten your day and draw compliments. Why not start your nail artist journey today with a simple design that speaks to your personal style?


Share:
Gel Polish vs. Regular Polish: Which One is Right for Your Nails?
EU Bans TPO in Cosmetics: Why It’s Time to Shift to TPO-Free Gel Polish